Leads Profile Management
This guide provides a comprehensive walkthrough of managing leads in your Dashboard. Leads are potential customers that you can track, manage, and convert into full-fledged customers. Below is a detailed breakdown of all actions you can perform on the Leads page.
The Leads page in your dashboard help you manage and track potential customers. It enables you to store, organize, and act on important information about your leads, which can be converted to customers at the right time.
Use the mini navigation below to move between different parts of this guide.
On this Page
Introduction Overview Create a Lead Profile See a Lead Profile Details Importing Leads into your Dashboard Exporting Leads from your Dashboard Editing a Lead Profile Deleting a Lead Profile Deleting Multiple Leads' Profile Converting a Lead to a Client Adding Notes to a Lead Profile Reading added Notes on a Lead ProfileOverview
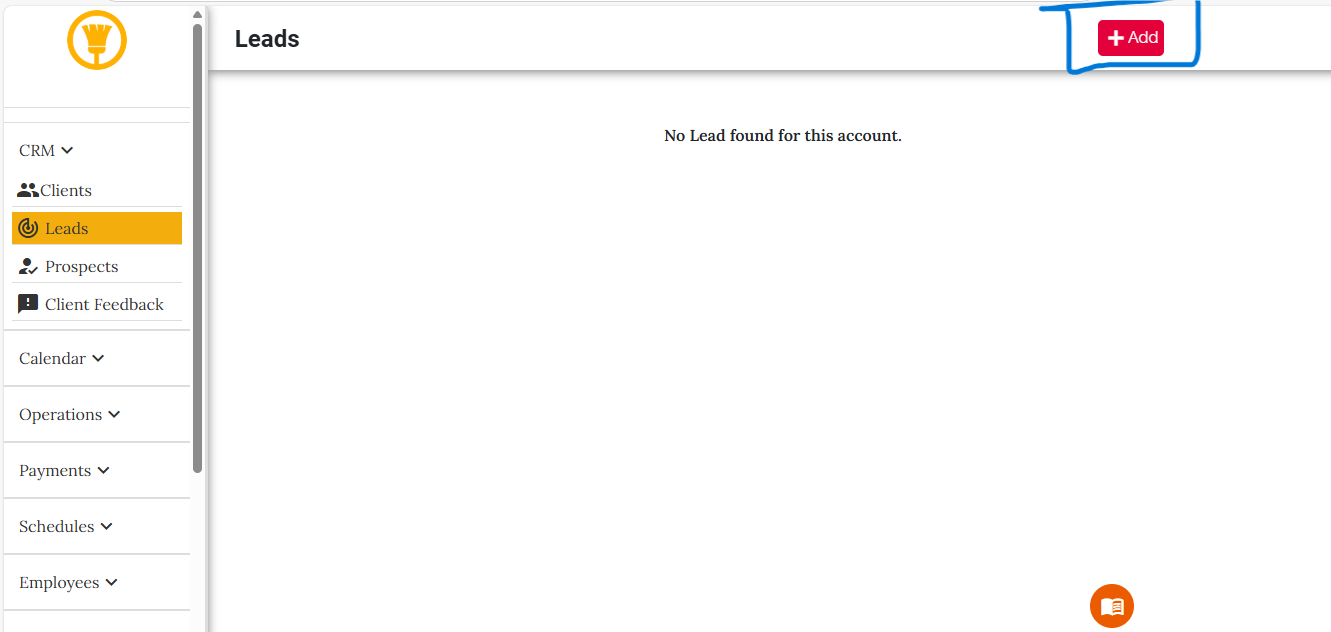
The Lead page has a layout similar to the Client page, with a table displaying all your leads and key action buttons for management. Refer to the image below to understand the layout of the Leads page.

Create a Lead Profile
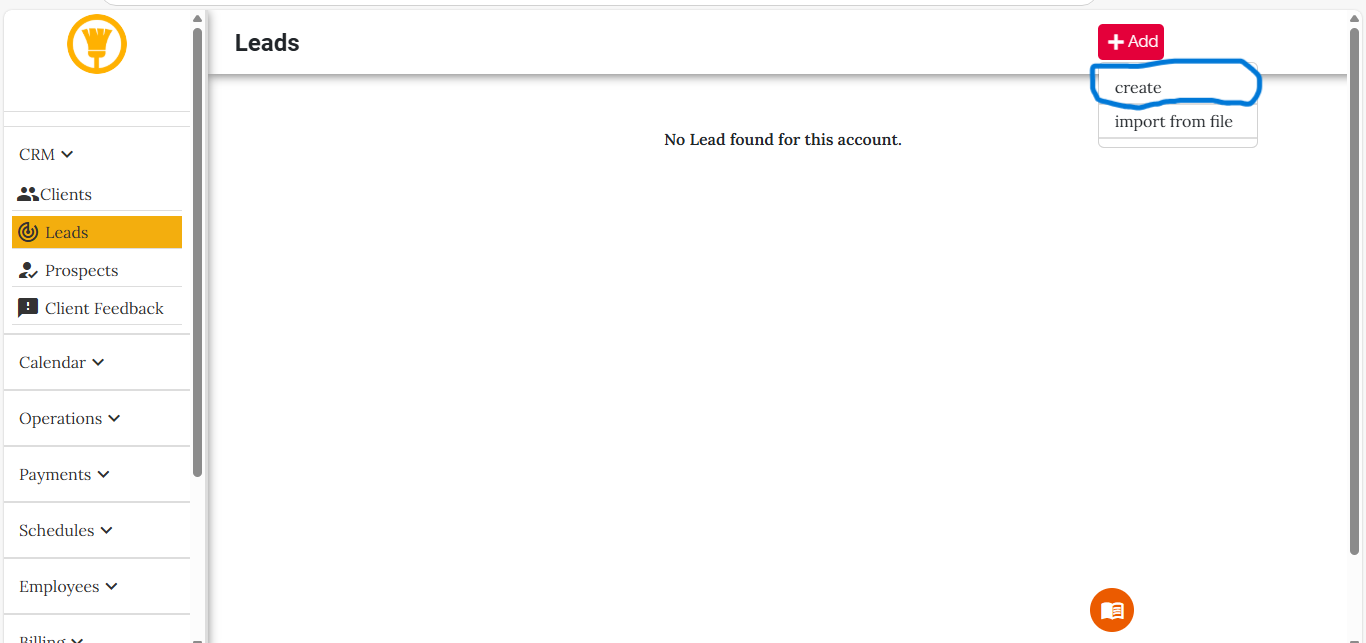
To create a new lead, follow these steps:
Importing Leads into your Dashboard
You can bulk import leads using a CSV file. Follow these steps:
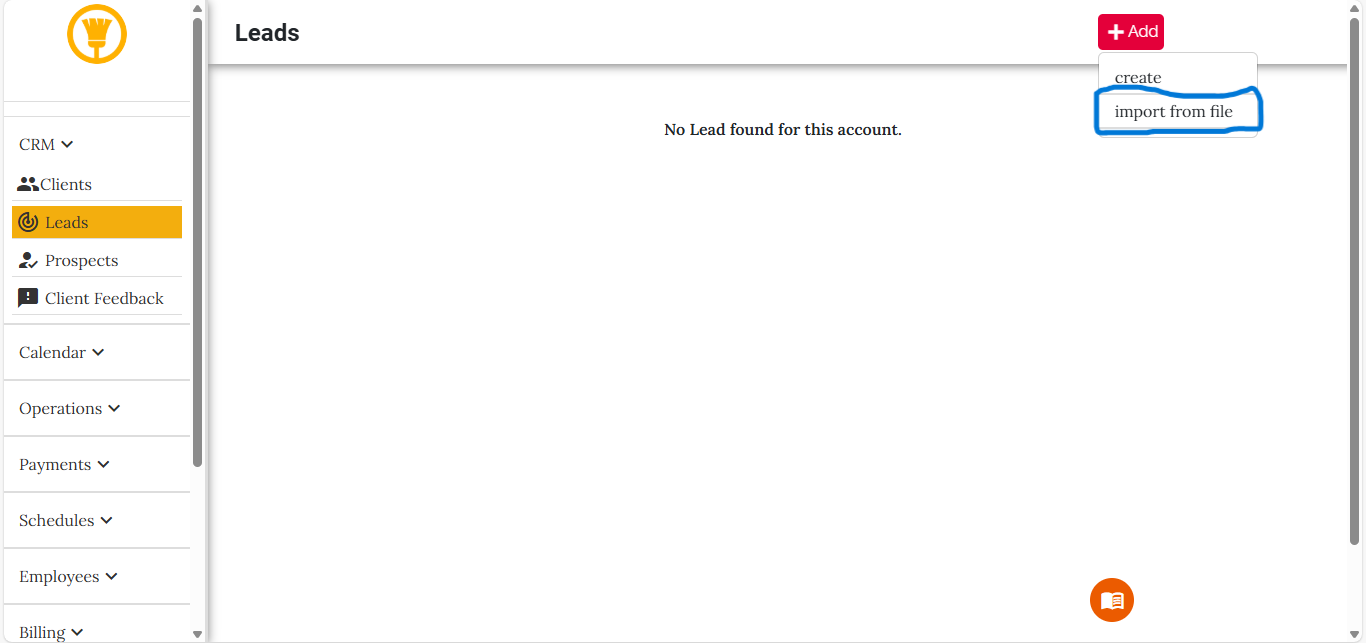
- Click the Add button and select Import from File from the overlay menu.
- Click on the "import from file" tab
- Upload your CSV file in the provided form.
- The CSV file must contain the following headers: First Name, Last Name, and Email. These headers can be in any order but must be present.
- After uploading, click the Import button. The leads will be added to your Leads List.


See a Lead Profile Details
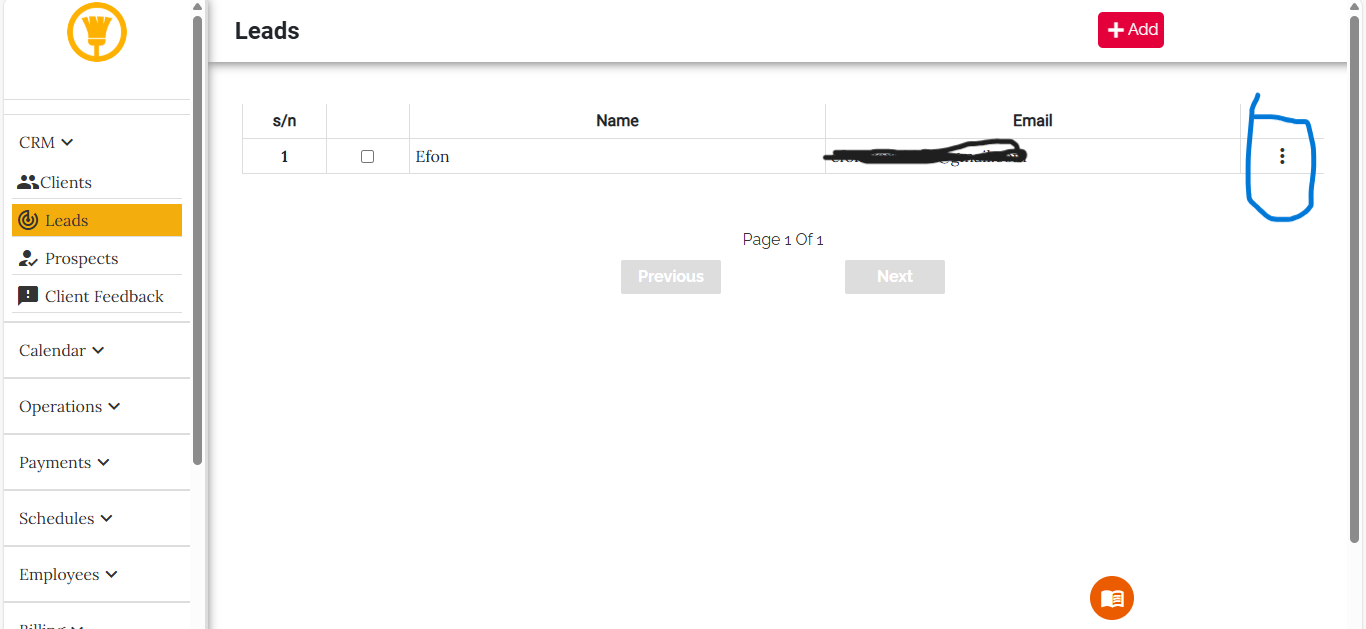
To see the full details of a lead profile, follow these steps:
Editing a Lead Profile
To edit a lead profile, follow these steps:
Deleting a Lead Profile
To delete a lead profile, follow these steps:
Converting a Lead to a Customer
To convert a lead into a customer or Client, follow these steps:
Adding Notes to a Lead Profile
To add notes to a lead profile, follow these steps:
Reading added Notes on a Lead Profile
To read notes on a lead profile, follow these steps:
Exporting Leads from your Dashboard
To export leads as a CSV file, follow these steps:
- Select the leads you want to export by checking the checkboxes next to their entries on your left hand side.
- Once you select a lead, a three-dot menu will appear at the top of the page,click on this three-dot menu.
- Click the Export option in the menu.
- The selected leads will be processed and downloaded as a CSV file automatically.
Deleting Multiple Leads' Profile
To delete multiple leads at once, follow these steps:
- Select the leads you want to delete by checking the checkboxes next to their entries on your left hand side.
- Click the three-dot menu at the top of the page and select Delete.
- All selected leads will be permanently removed from your dashboard. This action cannot be undone.


